October 05, 2026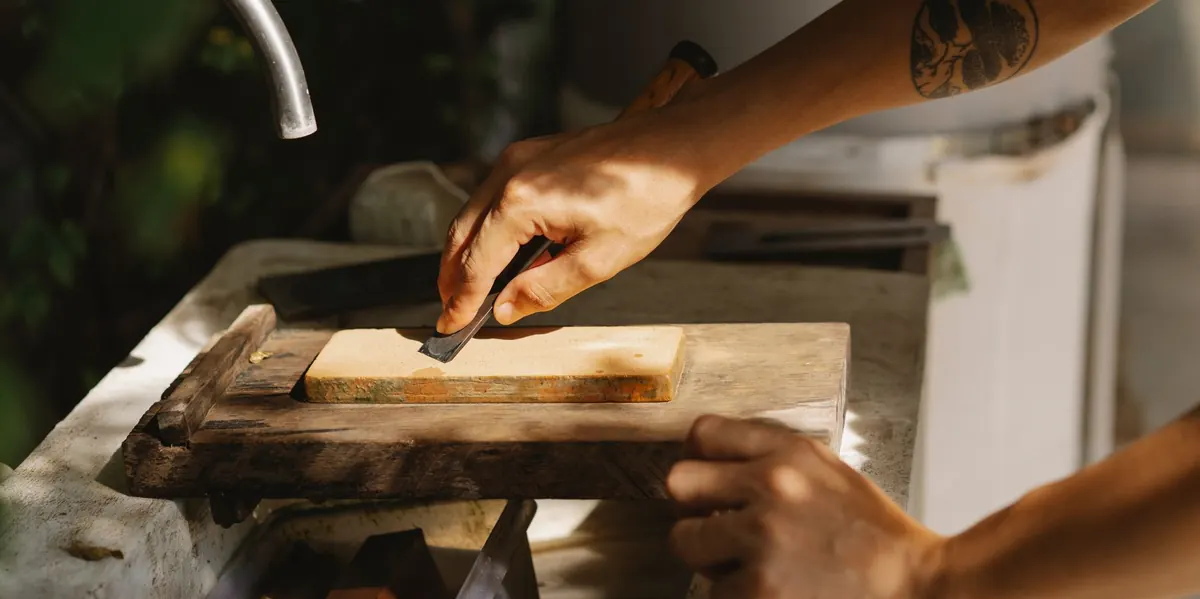
A dull chisel does not simply cut slowly. It crushes the fibres, wanders off your line, and asks your wrist to supply force that should come from the tool. A plane iron that has lost its edge skips and tears instead of lifting a clean shaving. A saw that has gone blunt steers like a bad trolley and leaves a kerf you have to clean up with a chisel. Sharpening is not a mystical skill reserved for people with expensive stones. It is a short, repeatable routine, and the carpenters who get good at it are simply the ones who do it often.
What Sharp Actually Means
A working edge is two flat, polished surfaces meeting at a consistent angle, with no rounded tip where they meet. Every sharpening problem is a version of that description failing: the back is not flat, the bevel angle wobbles, or the tip has rolled over into a tiny burr.
You do not need a mirror finish. You need a genuinely flat back, a bevel held at a steady angle, and the burr removed. A tool that satisfies those three conditions will pare end grain and take a shaving you can read through.
Build a Sharpening Station That Earns Its Space
Keep the kit together so sharpening takes two minutes instead of twenty. A bench hook, a square of non-slip mat, and a tin of light oil will do more for your consistency than any single expensive stone.
- Three abrasive steps. A coarse stone or diamond plate for reshaping, a medium grit around 1,000 for the bevel, and a fine 6,000–8,000 grit for polishing. Wet-and-dry paper on a piece of float glass or granite works perfectly well if stones are not in the budget.
- A flat reference. Glass, granite, or a dedicated flattening plate. Everything depends on this being flat, so check it before you blame your technique.
- A honing guide. Optional, but it removes the guesswork while you learn what a consistent angle feels like.
- A strop. Leather or plain MDF charged with a fine compound. Ten seconds here saves a minute on the stones.
- Small helpers. A marker pen for checking your angle, a rag, a small square, and safety glasses for the filing work.
Sharpening a Chisel or Plane Iron, Step by Step
- Flatten the back first. On a new chisel, or one from a car boot sale, work the first 25mm behind the edge on the medium stone until it is flat and bright. Do this properly once and you rarely have to think about it again.
- Find your angle. Twenty-five degrees is the standard primary bevel; thirty is a good working micro-bevel. Colour the bevel with the marker pen, take two strokes, and look. If the ink disappears from the tip only, you are too steep. If it disappears from the heel, you are too shallow.
- Raise a burr. Work the bevel on the coarse stone until you can feel a fine wire edge catch on the back. That is your signal that the two planes have met.
- Move through the grits. Medium, then fine, a handful of strokes each, keeping the bevel flat against the surface. Do not lift the handle at the end of the stroke; that rounds the tip and undoes the work.
- Remove the burr. Two or three light passes with the back dead flat on the fine stone, then a few strokes on the strop.
- Test it honestly. Slice a piece of paper held in the air, pare the end grain of a scrap of pine, or take a shaving with the plane. It should cut with control, not with pressure.
Micro-bevels and cambered irons
Keep the micro-bevel genuinely micro. Three or four strokes at thirty degrees is plenty, because that narrow band is what you will hone between full sharpening sessions. When it grows wide enough to be the whole bevel, drop back to twenty-five degrees and start again.
Scrub and jack plane irons want a slight curve across the cutting edge so they take heavy cuts without leaving tracks. Add a few extra strokes at each corner while honing, and check the curve by eye against a straightedge. Smoothing irons and chisels stay square.
Saws: File, Set, Test
A saw dulls gradually, so you get plenty of warning. When it starts to ride up out of the kerf or needs downward pressure to cut, deal with it before it becomes a wrestling match.
Clamp the saw in a saw vise at a comfortable height and joint it lightly with a smooth file along the toothline. That shows you which teeth are long, which are short, and what shape you are trying to reproduce. Then work with a slim taper file for coarser teeth and a double extra slim for finer ones, matching the existing rake and fleam rather than inventing new angles. File every other tooth from one side, flip the saw, and do the rest, so the geometry stays consistent across the plate. Rip saws are filed straight across, crosscut saws at an angle.
Set the teeth just enough that the kerf clears the plate, and no more. Too much set makes a saw wander; too little and it binds and burns. A saw set does this quickly and repeatably. Wear safety glasses while filing, because the filings go everywhere. Practise on a cheap saw from a yard sale before you touch a good one.
Clean and Protect the Steel
Resin and sap build up on saw plates and plane soles and make everything drag. A rag with a little turpentine or a resin-removing solvent lifts it off. Keep solvents away from wooden handles and totes.
For surface rust, use fine steel wool with a light oil and a little patience. Avoid leaving good steel soaking in acidic solutions, which can pit it. When the tool is clean and dry, wipe the metal with a light machine oil or a purpose-made rust preventative, and rub paraffin wax into plane soles and saw plates. The wax cuts friction and gives rust one less place to start. Clear the shavings out of a plane mouth and check the adjuster; a chip wedged in the mouth leaves a mark on every board you plane.
Store Tools So the Edges Survive
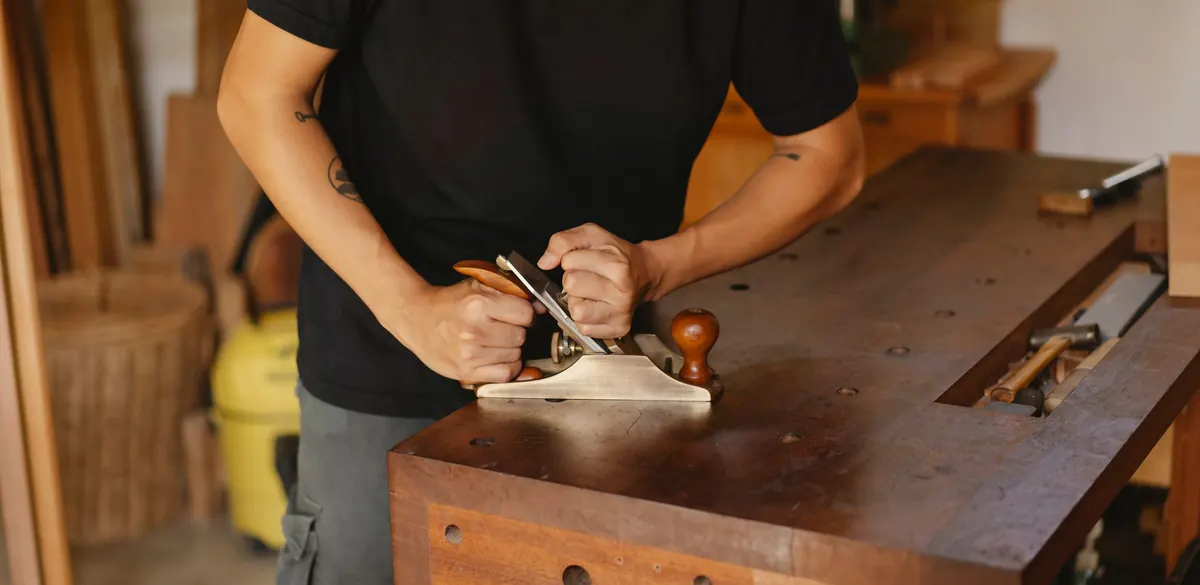
Most edge damage happens in a toolbox, not on the bench. Chisels belong in a roll or a rack where the bevel touches nothing, with blade guards for anything that travels. Retract the plane iron before putting it away, snug the lever cap rather than cranking it, and rest planes on their side or on a wooden strip, never on the blade.
Hang saws or store them in a till so nothing presses on the teeth, and use a simple slotted wooden guard if they share a bag with other tools. Choose a dry spot. A damp shelf beside the garage door will undo a month of good sharpening, so keep steel in a cupboard with a couple of silica packets if your workshop runs humid.
Make It a Routine, Not a Project
Sharpening works best in small, frequent doses. At the end of a job, spend five minutes touching up the tools you actually used: a few strokes on the fine stone, a strop, a wipe of oil, and back in the rack. Once a month, set aside a morning for the saws and the tools that have been sitting idle.
An edge that cuts where you aim needs less force, which means your hands are further from the sharp end and less likely to slip. That is the real argument for keeping up with it.
Photo: Ono Kosuki / Pexels